Hibernate setup in eclipse
Here we are going to setup hibernate using Eclipse IDE. To setup hibernate first download and install Eclipse IDE then follow the following steps.
Step-1: Launch Eclipse IDE

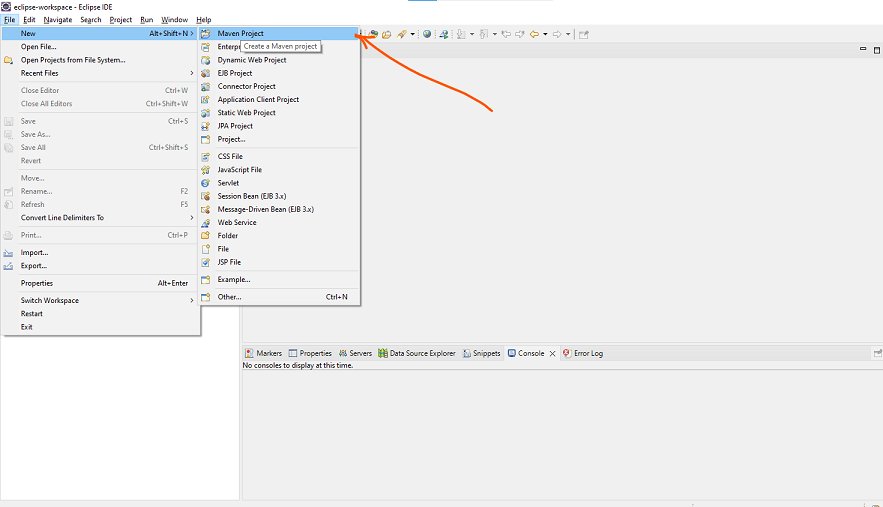
Step-2: Click on File -> New -> Maven Project
Step-3: Make sure both boxes are checked

Step-4: Configure project by providing Group Id, Artifact Id and Packaging

Step-5: And you are all set. You will see a new Project in Eclipse with following file structure.
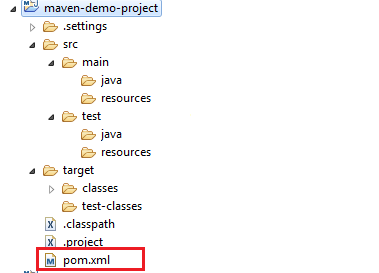
Step-6: Modify pom.xml
add the following dependencies in your pom.xml file and then update it by pressing CLT + S and make sure dependencies are being downloaded
<?xml version="1.0" encoding="UTF-8"?>
<project xmlns="http://maven.apache.org/POM/4.0.0" xmlns:xsi="http://www.w3.org/2001/XMLSchema-instance" xsi:schemaLocation="http://maven.apache.org/POM/4.0.0 https://maven.apache.org/xsd/maven-4.0.0.xsd">
    <modelVersion>4.0.0</modelVersion>
    <groupId>hibernate-tutorial</groupId>
    <artifactId>com.javakar</artifactId>
    <version>0.0.1-SNAPSHOT</version>

    <dependencies>
        <dependency>
            <groupId>org.hibernate</groupId>
            <artifactId>hibernate-core</artifactId>
            <version>5.5.7.Final</version>
        </dependency>

        <dependency>
            <groupId>mysql</groupId>
            <artifactId>mysql-connector-java</artifactId>
            <version>8.0.26</version>
        </dependency>

    </dependencies>
</project>
Step-7: Create MyMain class in src->main->java folder
add the following code, save and run program.
public class MyMain {

    public static void main(String[] args) {
        // TODO Auto-generated method stub
        System.out.println("Hello World");

    }
}
Author

Aamir Shayan
Software Engineer
Recent Posts
Spring Interview Questions - Chapter 4
Spring Interview Questions - Chapter 3
Spring Interview Questions - Chapter 2
Spring Interview Questions - Chapter 1
Spring Boot Exception Handling
Spring Boot Restful API CRUD
Spring Boot Data Layer
Spring Boot Business Layer
Spring Boot Static Rest API
Spring Component Scanning